
Roast Chicken with Herb Butter
Roast Chicken With Herb Butter – A Holiday Showstopper
This Roast Chicken With Herb Butter recipe transforms a simple bird into a tender, juicy, and flavorful masterpiece. Perfect for the holidays or a special dinner, it’s easy to follow and will leave your guests asking for seconds.
Here’s everything you need to make this recipe foolproof with detailed instructions!
Ingredients
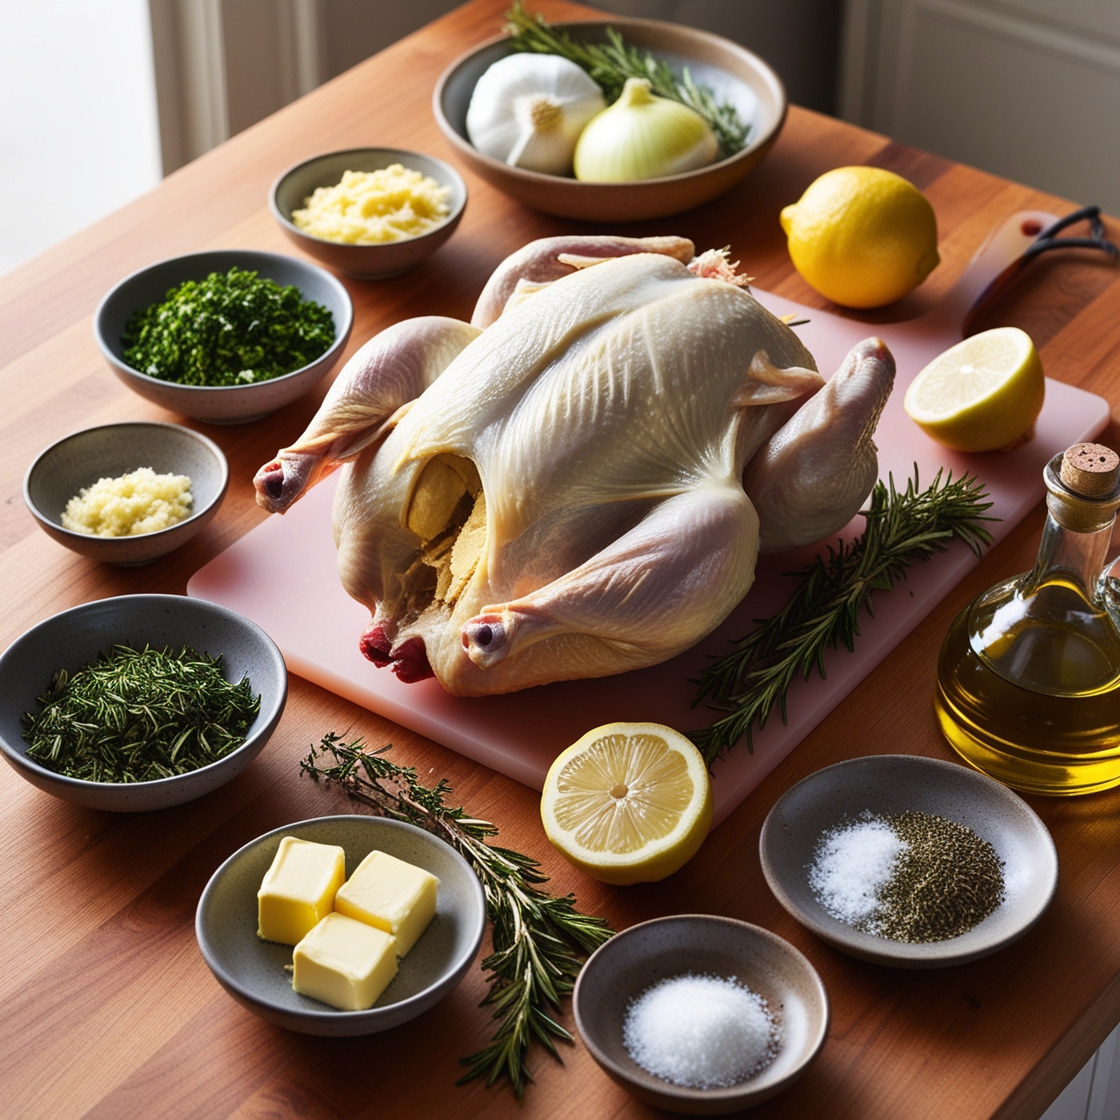
1 whole chicken (4-5 pounds)
1/2 cup unsalted butter (softened)
3 cloves garlic (minced)
1 tablespoon fresh rosemary (finely chopped)
1 tablespoon fresh thyme (finely chopped)
1 tablespoon fresh parsley (finely chopped)
1 lemon (cut into halves)
1 onion (cut into quarters)
Salt and pepper (to taste)
2 tablespoons olive oil
Step-by-Step Instructions
Step 1: Preheat the Oven
Set your oven to 375°F (190°C). Make sure your oven rack is in the middle position for even cooking.
Step 2: Prepare the Herb Butter
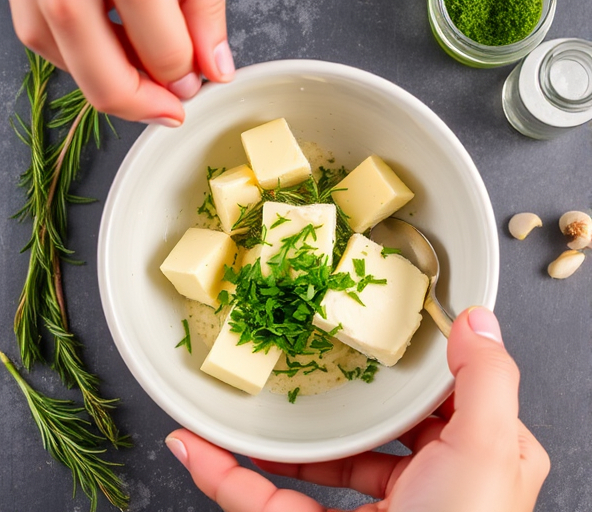
In a small bowl, add the softened butter, minced garlic, chopped rosemary, thyme, and parsley.
Sprinkle in a pinch of salt and pepper.
Use a spoon or fork to mix everything together until it’s well combined. Set it aside.
Step 3: Prepare the Chicken
Remove the chicken from its packaging. Check inside the cavity to remove any giblets (if included). You can save these for another recipe or discard them.
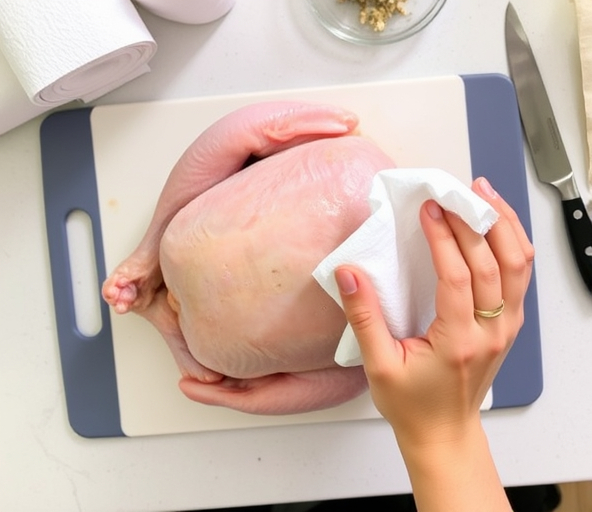
Rinse the chicken inside and out with cold water, then pat it completely dry with paper towels. Dry skin helps the chicken become crispy in the oven.
Place the chicken on a cutting board or clean surface.
Step 4: Loosen the Skin
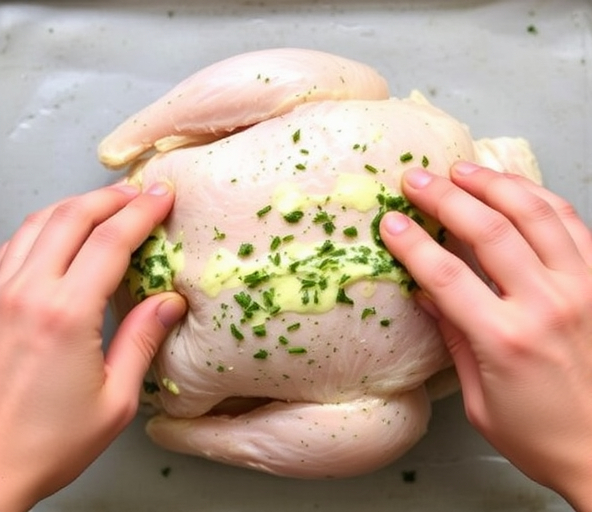
Gently slide your fingers under the skin of the chicken breast, lifting it away from the meat. Take care not to tear the skin.
Once the skin is loosened, you’ve created a pocket where you’ll spread the herb butter.

Step 5: Spread the Herb Butter
Use half of the herb butter to rub under the skin. Take small amounts at a time and spread it evenly under the loosened skin of the chicken breasts. This ensures the meat stays moist and flavorful as it cooks.
Rub the remaining butter all over the outside of the chicken, coating the skin completely.
Sprinkle a little extra salt and pepper over the top for added seasoning.
Step 6: Stuff the Chicken
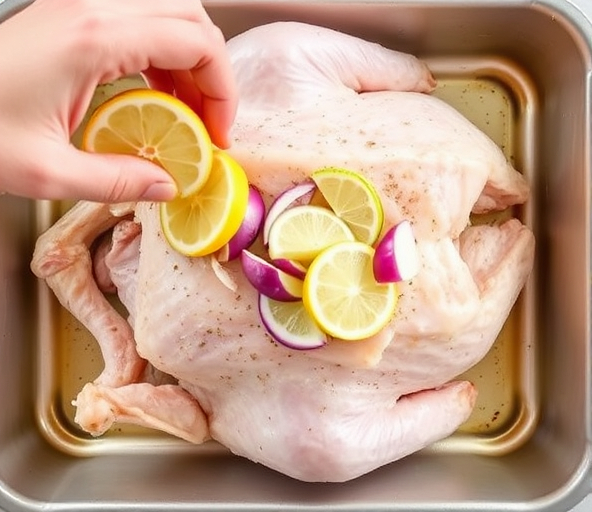
Place the lemon halves and onion quarters into the cavity of the chicken. This will infuse the chicken with aromatic flavors while roasting.
Step 7: Tie the Legs and Tuck the Wings
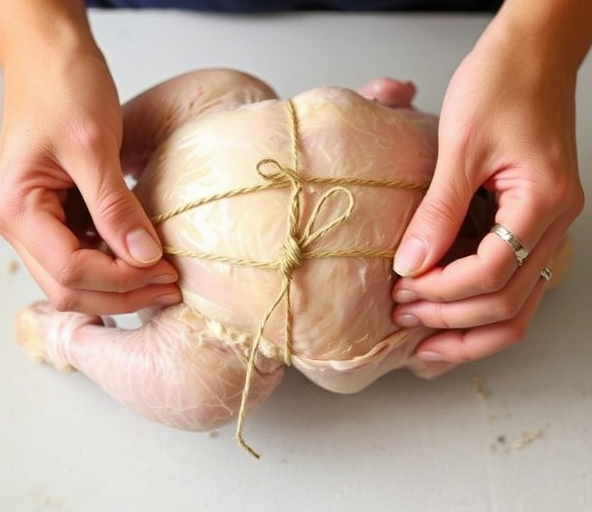
Use kitchen twine to tie the legs together at the ends. This helps the chicken cook evenly.
Tuck the wing tips under the body of the chicken to prevent them from burning during roasting.
Step 8: Drizzle and Place in Roasting Pan
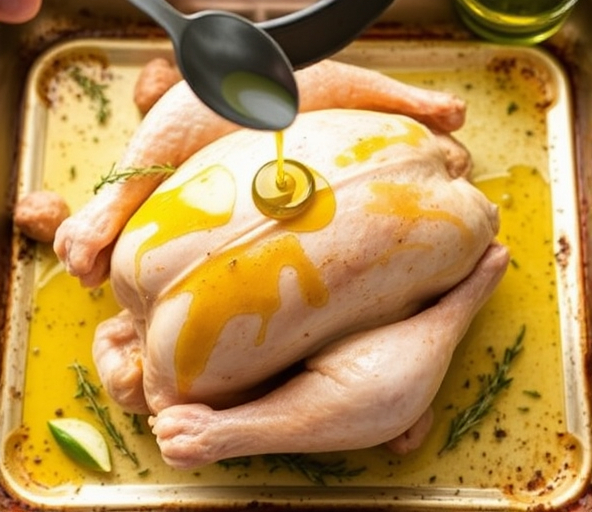
Transfer the chicken to a roasting pan or a large ovenproof dish.
Drizzle 2 tablespoons of olive oil over the top of the chicken for an extra golden finish.
Step 9: Roast the Chicken
Place the roasting pan in the oven. Roast the chicken for 1 hour 30 minutes to 1 hour 45 minutes (the exact time depends on the size of the chicken).
About halfway through cooking, use a spoon or baster to pour some of the juices from the bottom of the pan over the chicken to keep it moist.
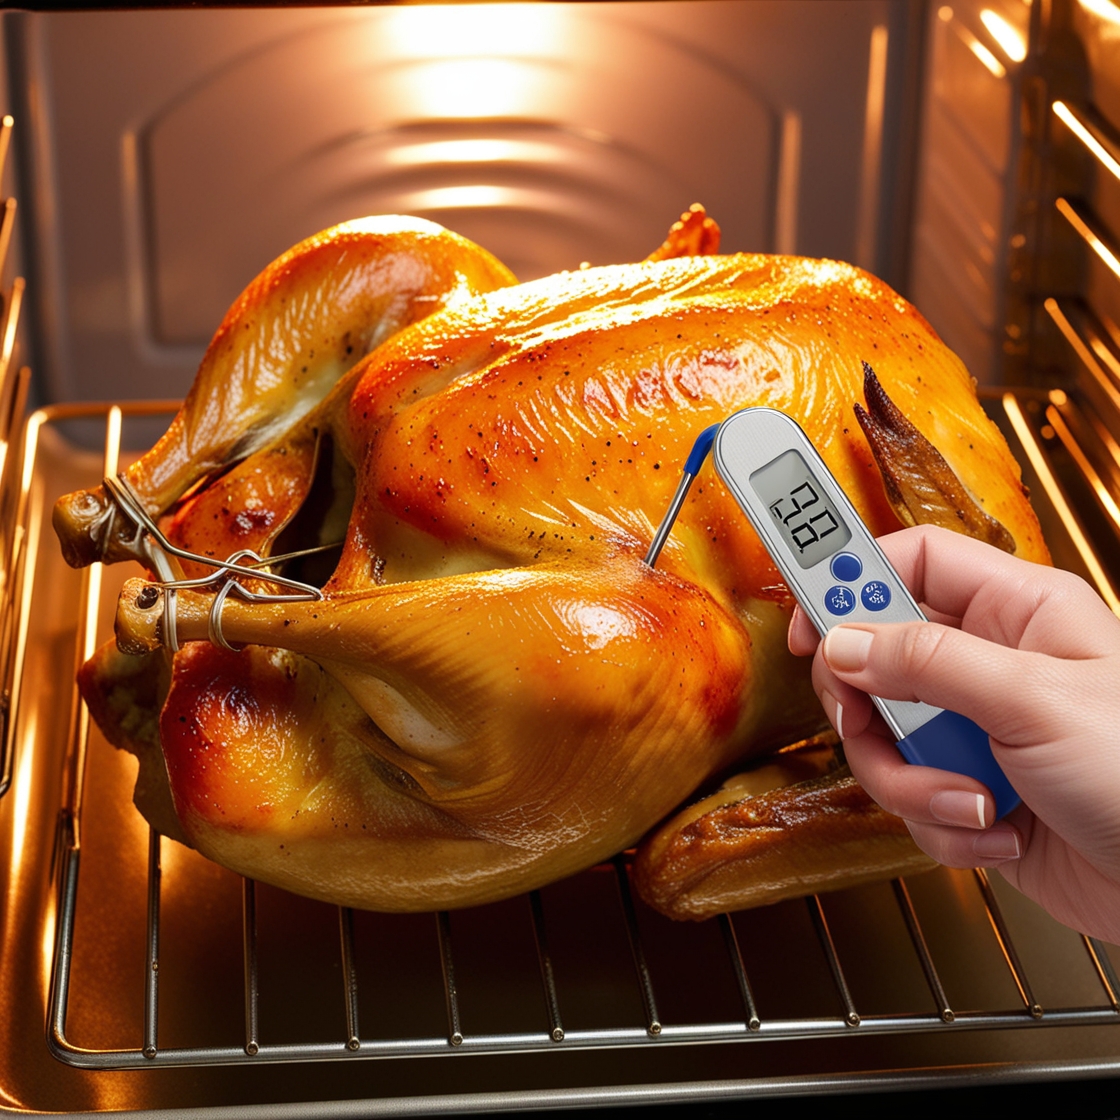
To check if it’s done, insert a meat thermometer into the thickest part of the chicken (near the thigh but not touching the bone). The temperature should read 165°F (75°C).
Step 10: Rest the Chicken
Once the chicken is done, remove it from the oven and let it rest on a cutting board for 10-15 minutes. Resting allows the juices to redistribute throughout the meat, making it tender and juicy.
While it rests, you can prepare any side dishes or make gravy from the drippings in the roasting pan.
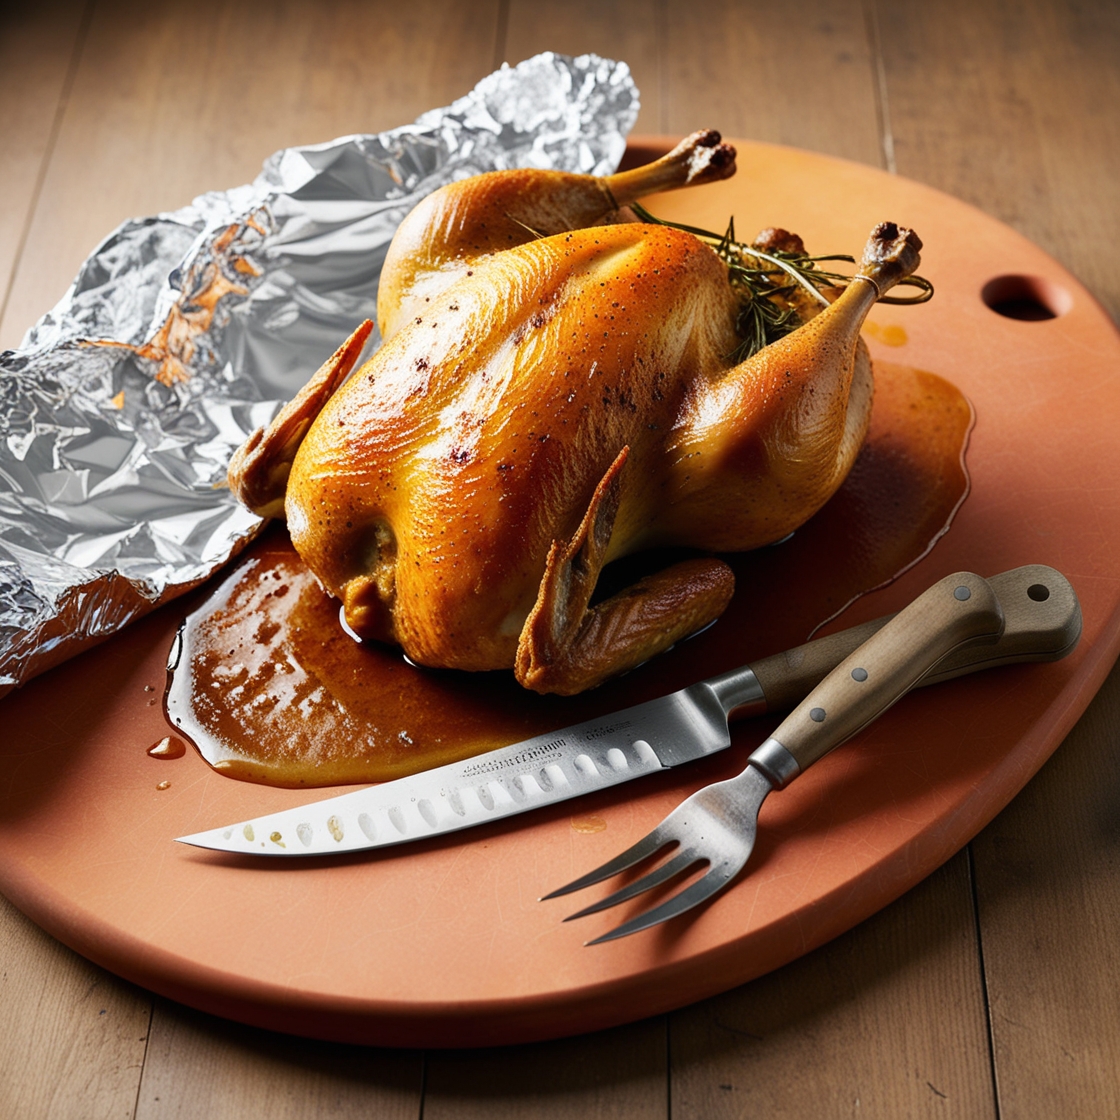
Step 11: Carve and Serve
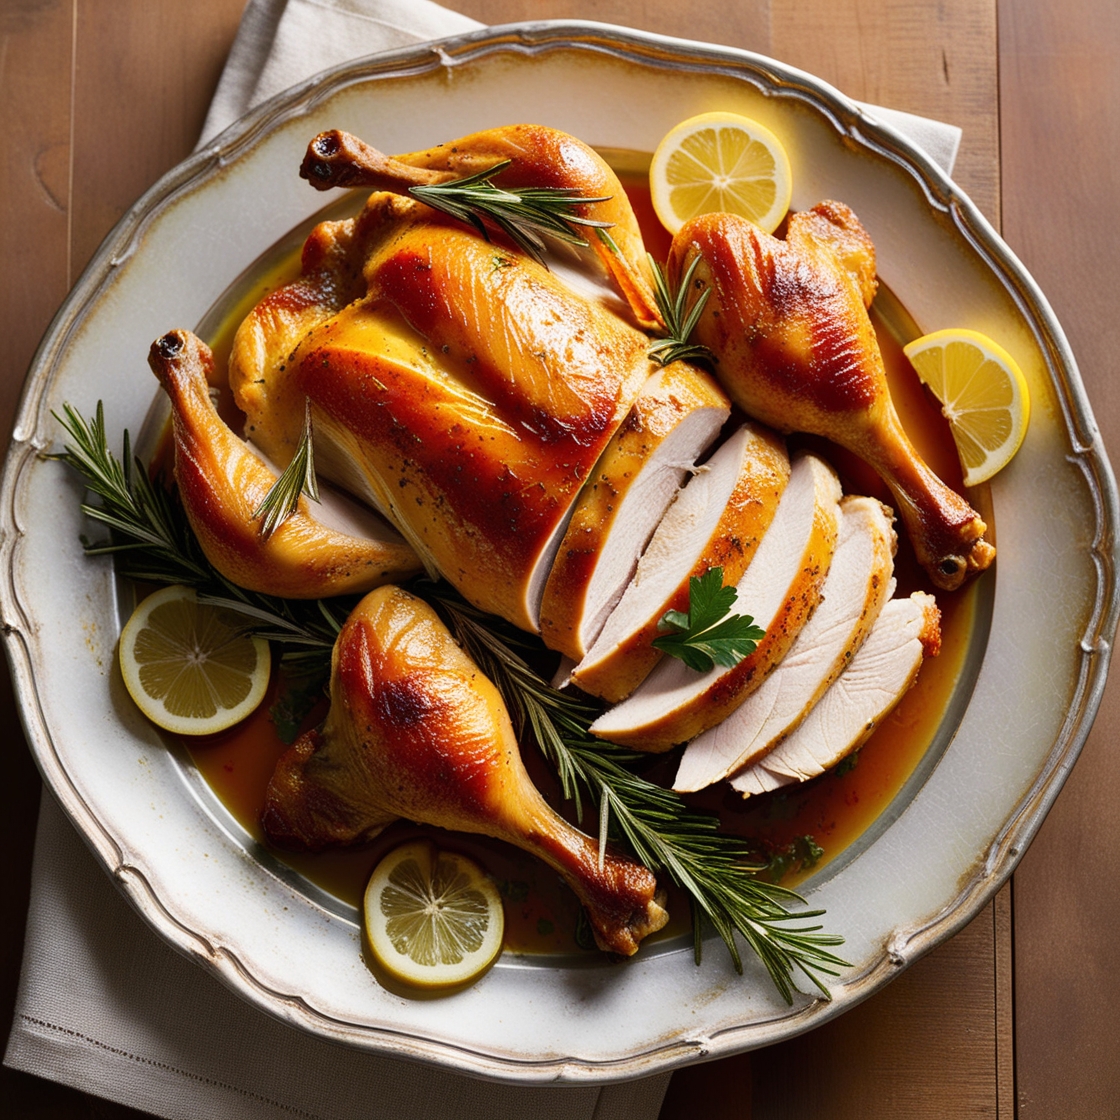
After resting, use a sharp knife to carve the chicken. Start with the legs, then move to the wings, and finally slice the breast meat.
Arrange the pieces on a serving platter and drizzle with the pan juices for extra flavor.
Serving Suggestions
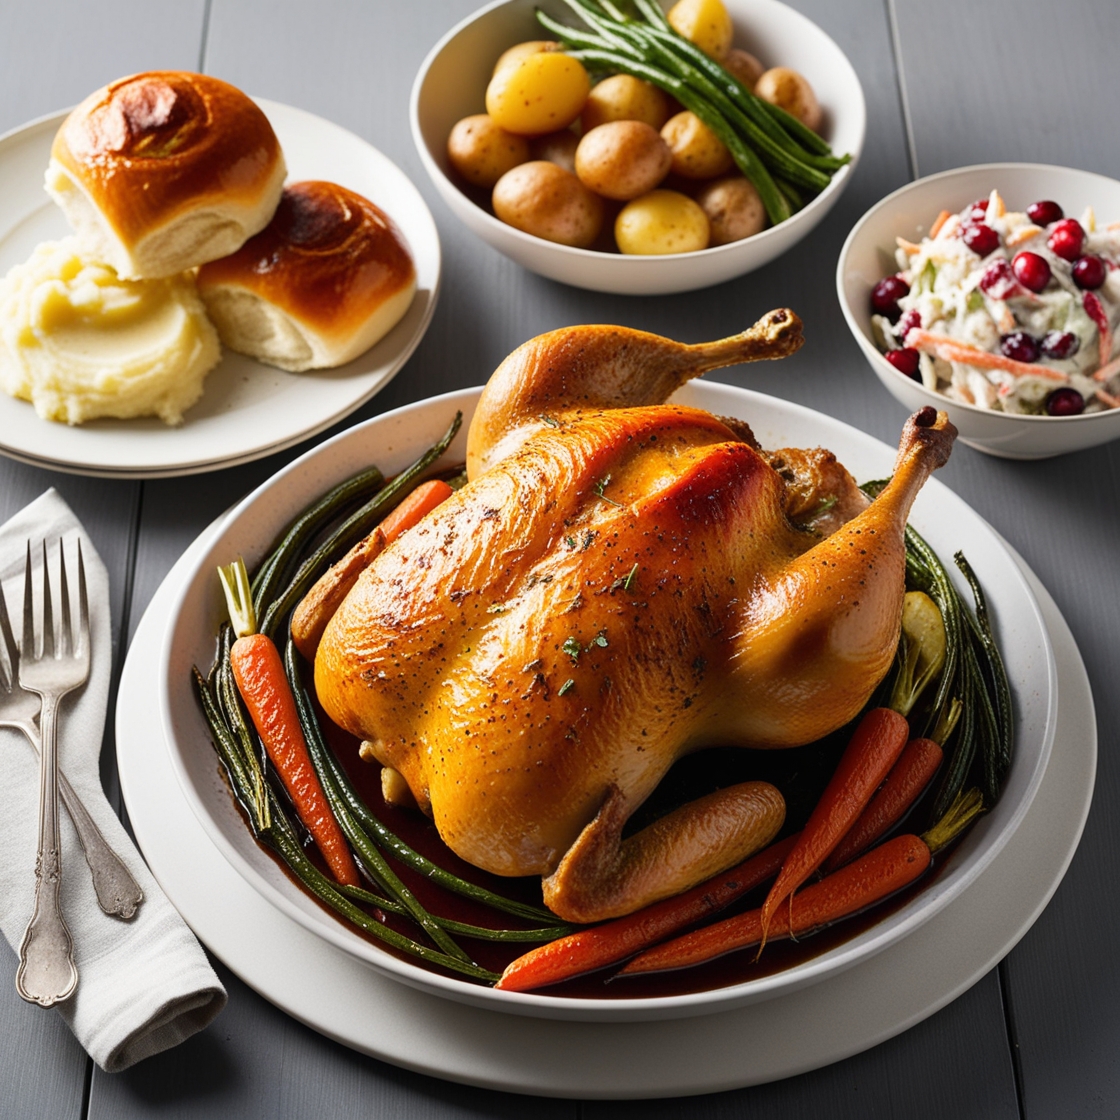
Pair your roast chicken with classic sides like:
Mashed potatoes or buttery rolls
Roasted vegetables (carrots, potatoes, or green beans)
A fresh cranberry salad or tangy coleslaw
This dish is versatile and works beautifully with almost any side!
This Roast Chicken with Herb Butter is more than a meal—it’s a memory waiting to be made. With a crispy, golden skin and melt-in-your-mouth meat, it’s perfect for the holidays or any special occasion.
Follow these detailed steps, and even a first-time cook can achieve a restaurant-worthy roast chicken!
Give it a try, and don’t forget to share your delicious creation with us. Happy cooking!
Essential Tools for Roasting Chicken
1. Roasting Pan with Rack
Why it’s essential: Keeps the chicken elevated for even cooking and allows juices to collect for gravy.
2. Meat Thermometer
Why it’s essential: Ensures the chicken is cooked to the perfect temperature (165°F for safe consumption).
Example: Digital Meat Thermometer
3. Silicone Basting Brush
Why it’s essential: Helps evenly apply butter or pan juices over the chicken.
4. Garlic Press
Why it’s essential: Quickly minces garlic for the herb butter, saving time and effort.
Example: Stainless Steel Garlic Press
5. Herb Chopper
Why it’s essential: Makes chopping rosemary, thyme, and parsley effortless.
Example: Compact Herb and Vegetable Chopper
6. Citrus Juicer or Reamer
Why it’s essential: Extracts the most juice from lemons for maximum flavor in the cavity.
Example: Manual Citrus Reamer
7. Kitchen Twine
Why it’s essential: Ties the chicken legs together for even cooking and professional presentation.
Example: Food-Grade Cotton Kitchen Twine
8. Silicone Oven Mitts
Why it’s essential: Protects your hands when transferring the hot roasting pan.
Example: Heat-Resistant Silicone Oven Mitts
9. Cutting Board with Juice Groove
Why it’s essential: Holds the chicken securely while carving and prevents juices from spilling.
10. Carving Knife Set
Why it’s essential: Ensures clean, precise cuts when carving the chicken for serving.
Optional but Helpful Tools
11. Butter Warmer or Melting Pot
Why it’s essential: Makes melting butter for basting simple and mess-free.
Example: Mini Stainless Steel Butter Warmer
12. Citrus Zester
Why it’s essential: Adds extra lemon zest to the herb butter for a tangy twist.
Example: Microplane Citrus Zester
13. Nonstick Baking Mat or Parchment Paper
Why it’s essential: Keeps cleanup easy if you’re not using a roasting rack.
Example: Silicone Baking Mat
14. Kitchen Shears
Why it’s essential: Useful for trimming chicken or spatchcocking (if desired).
Example: Heavy-Duty Kitchen Shears
